WINDOWS: Podman setup on Windows (and local Kubernetes cluster)
Introduction
Podman is open source first and won’t lock you in. Podman Desktop can be used as one tool to manage all your containers, regardless of container engine - even if you don’t use Podman as your container engine.
Rootless containers allow you to contain privileges without compromising functionality.
Install
WARNING
This guide uses scoop command-line installer for Windows to setup Podman.
Ensure you have installed scoop first.
Podman CLI
TIP
Once set up using podman-cli you will be able to use podman-desktop too if installed
scoop install main/podmanPodman desktop
scoop install extras/podman-desktopExtras but recommended
Install docker-compose, kubernetes-cli and kind (local kubernetes cluster)
scoop install main/docker-compose
scoop install main/kubectl
scoop install main/kind
Setup
IMPORTANT
Choosing between setting up podman using podman cli or desktop is up to you.
Doing it through the cli gives you more flexibility when configuring the cluster but podman-desktop is more straightforward.
Podman CLI
Podman Machine
First init a machine by running
podman machine init --rootfulThen start the machine
podman machine startVerify it is working by running
podman psKubernetes
Create a file kind-config.yaml to define the cluster - this will mount a volume on your windows $HOME path in a folder .k8v so you can sync data with it.
kind: Cluster
apiVersion: kind.x-k8s.io/v1alpha4
name: kind-cluster
networking:
  ipFamily: ipv6
  apiServerAddress: 127.0.0.1
nodes:
  - role: control-plane
    extraPortMappings:
      - containerPort: 30000
        hostPort: 30000
        protocol: TCP
    extraMounts:
      - hostPath: /Users/{your_user}/.k8v
        containerPath: /data/k8v
Then declare an env variable by either running on your powershell the following or adding it to your $PROFILE file (in this case restart the terminal)
$env:KIND_EXPERIMENTAL_PROVIDER="podman"Start a Kind Kubernetes cluster by running
kind create cluster --config .\kind-config.yamlOnce completed, verify is running by running
kubectl cluster-info --context kind-kind-clusterPodman Desktop
Podman Machine
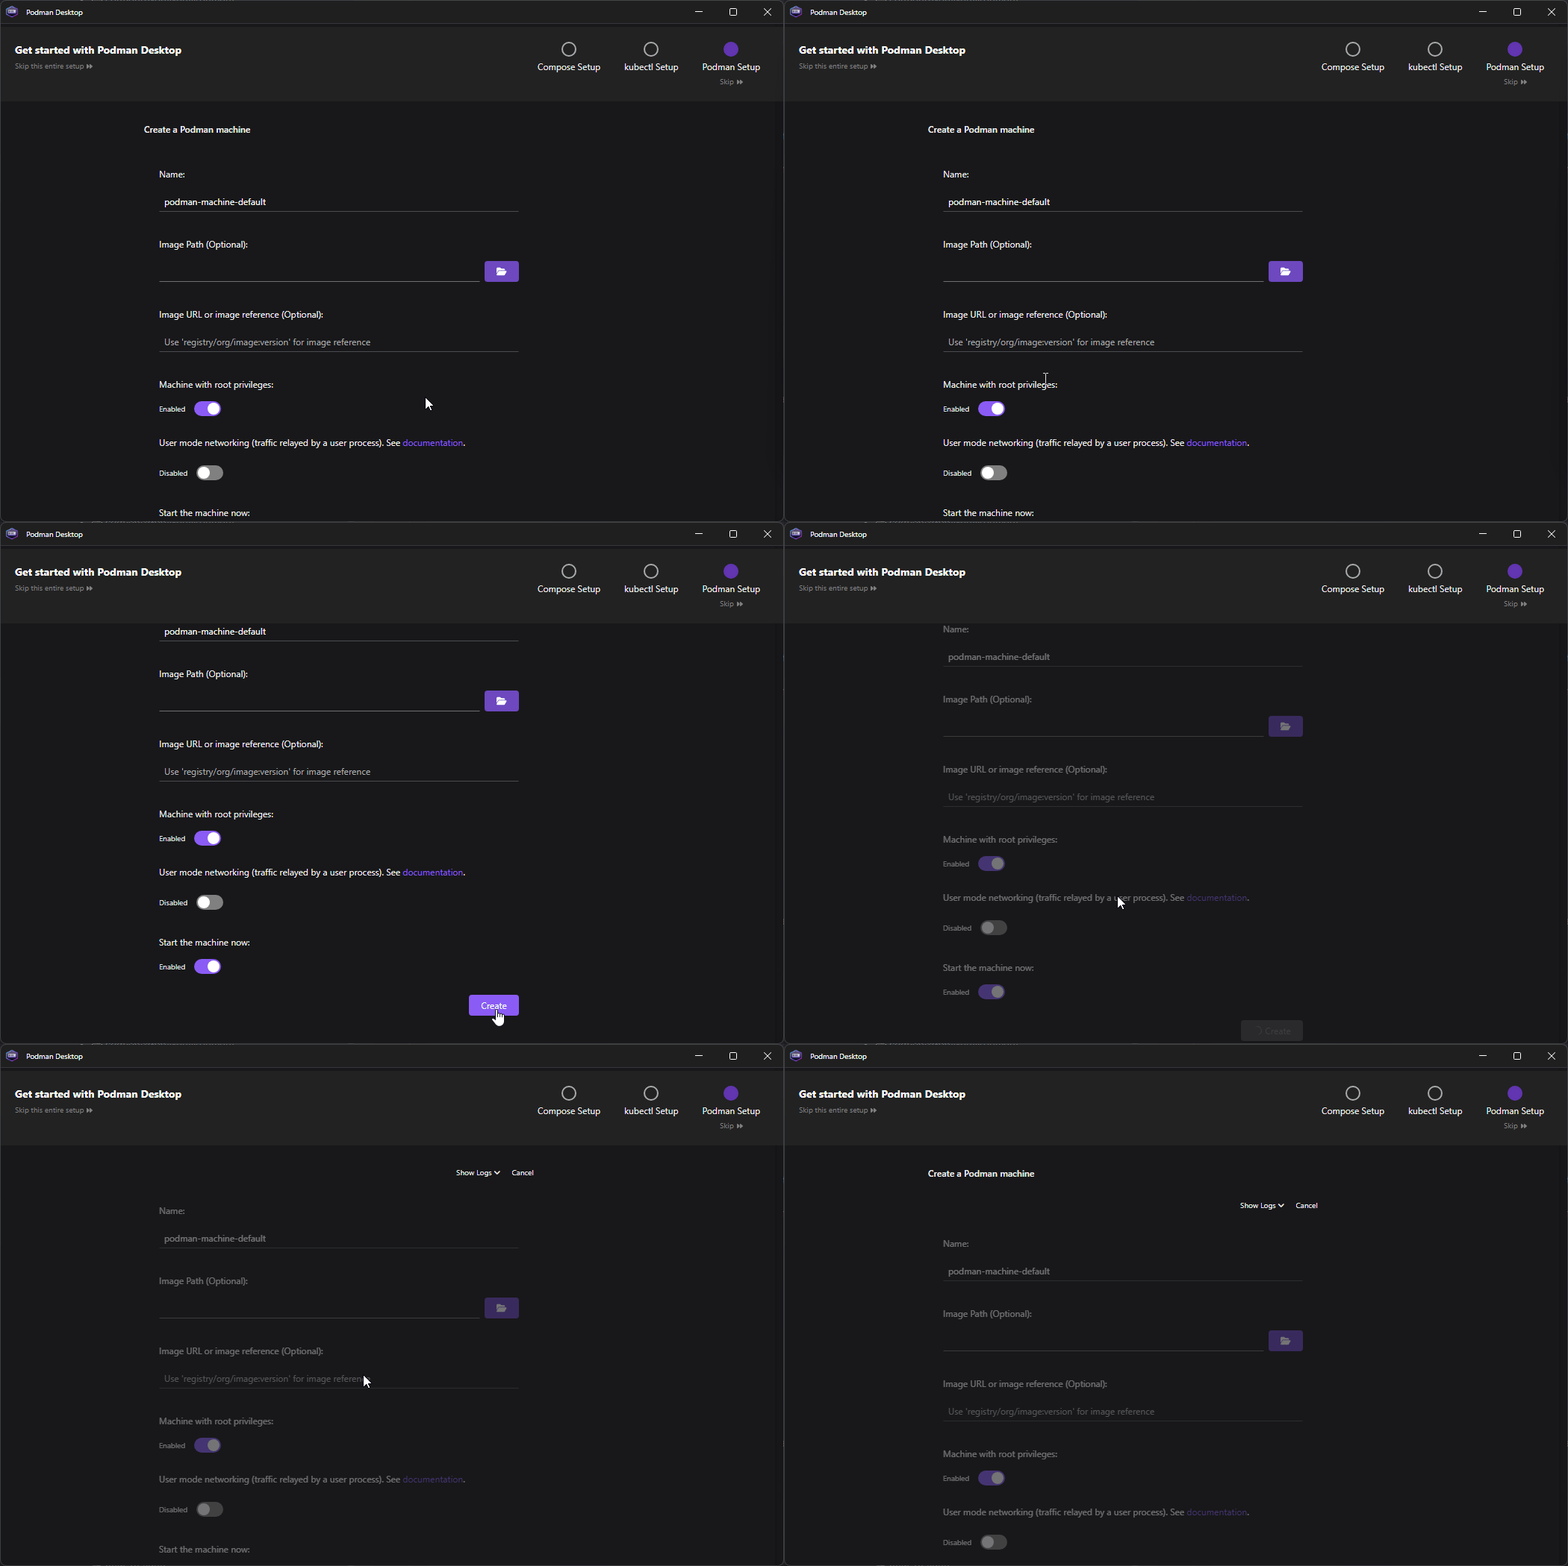
Open Podman Desktop and follow the onboarding to set it up properly - you will most likely need Admin Privileges
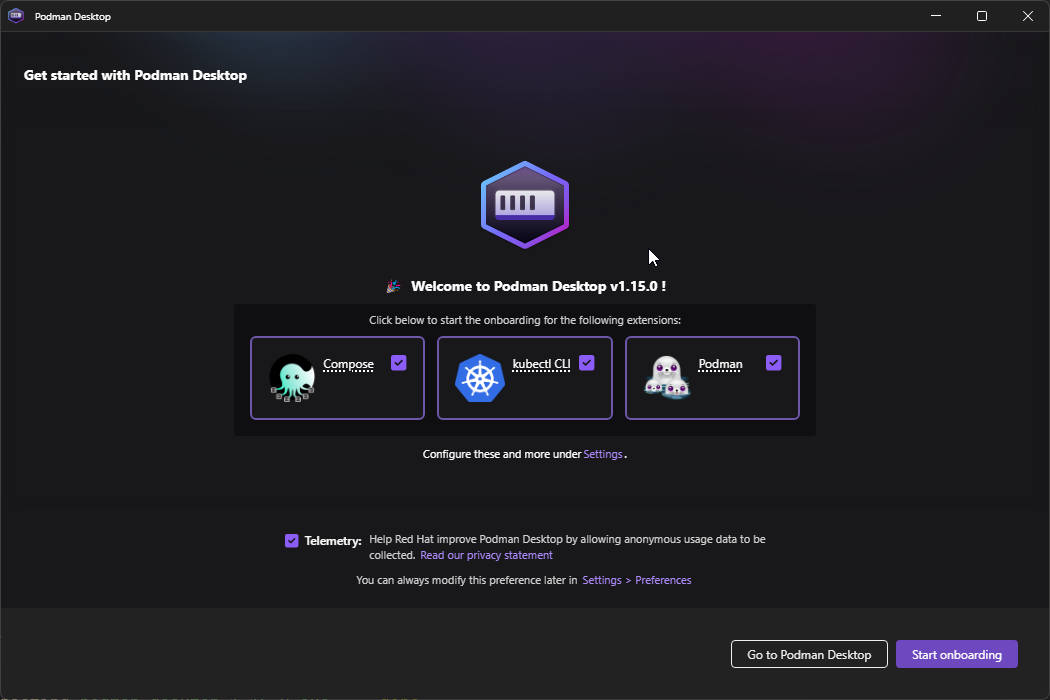
The onboarding will follow the next steps
- Compose Setup
- Kubectl Setup
- Podman Setup - Enable Autostart Podman engine when launching Podman Desktop if you’d like.
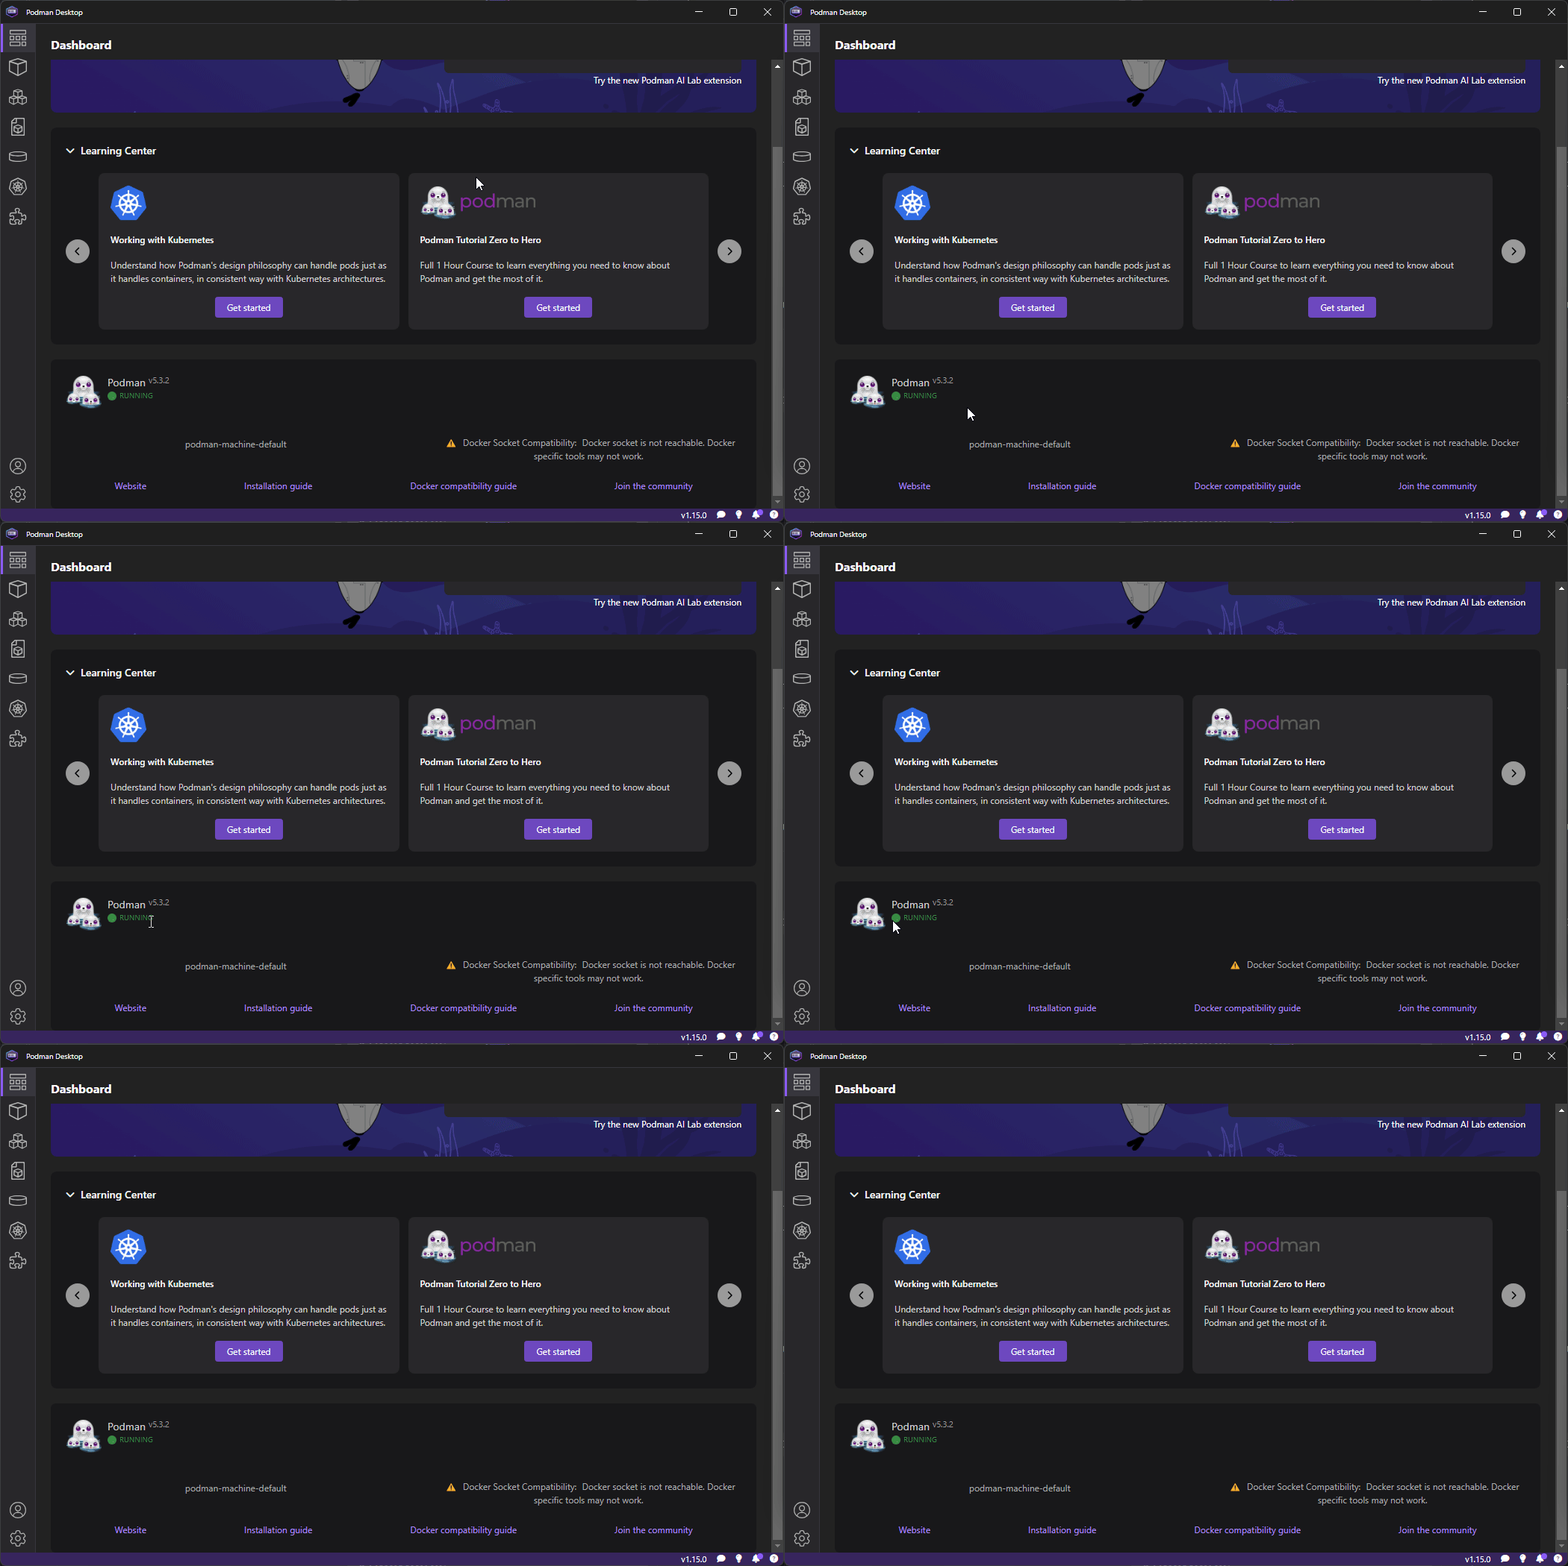
Once finished you should see Podman is running on the App
Kubernetes
Kubernetes clusters can be setup by using either Kind or minikube.
We are going to follow Kind as it is the most compatible tool and works out of the box.
Go to Kubernetes on the left menu and click ond Create Kind Cluster
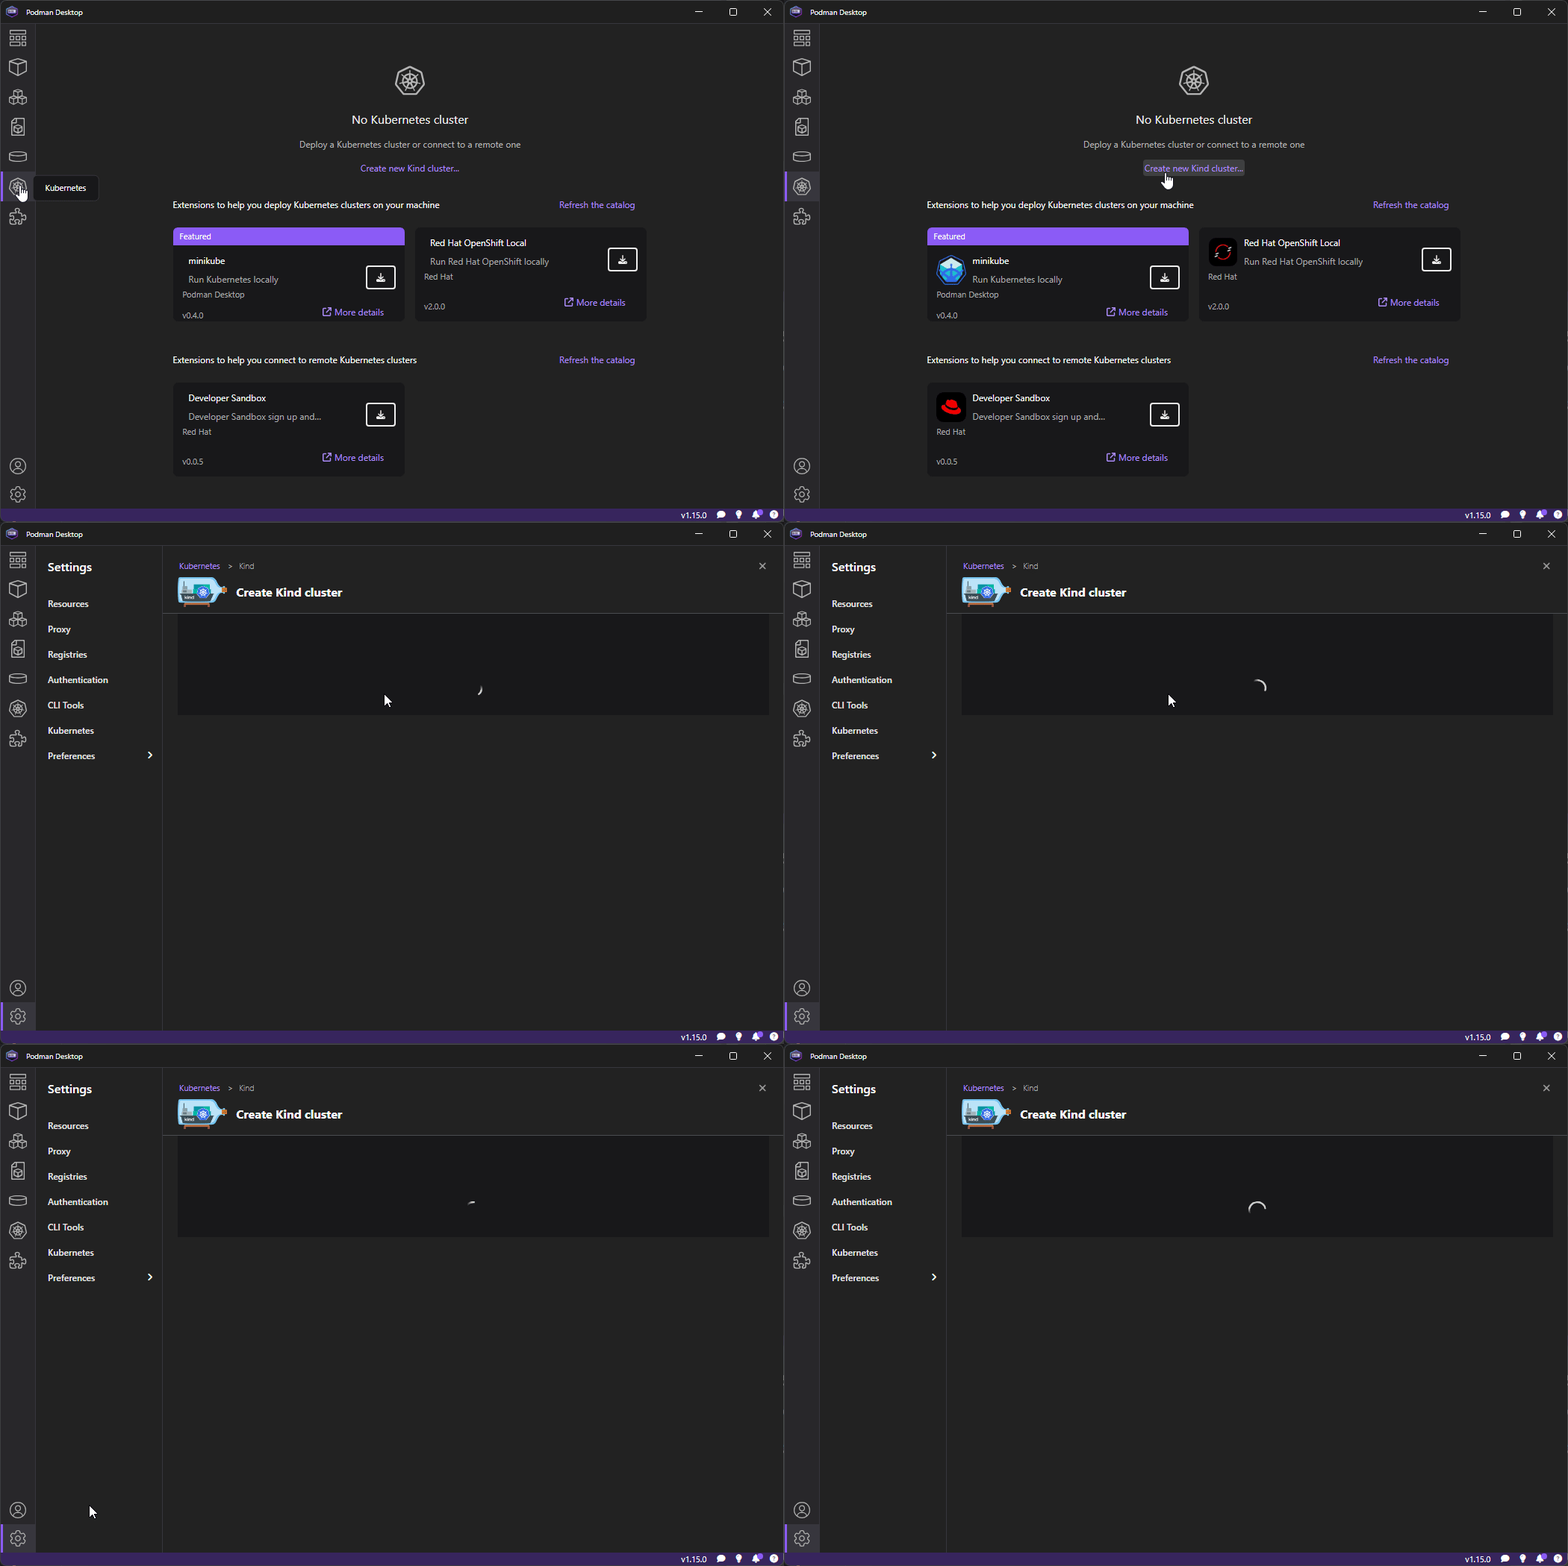
Once loaded click on Create so it starts creating it - it will take a while
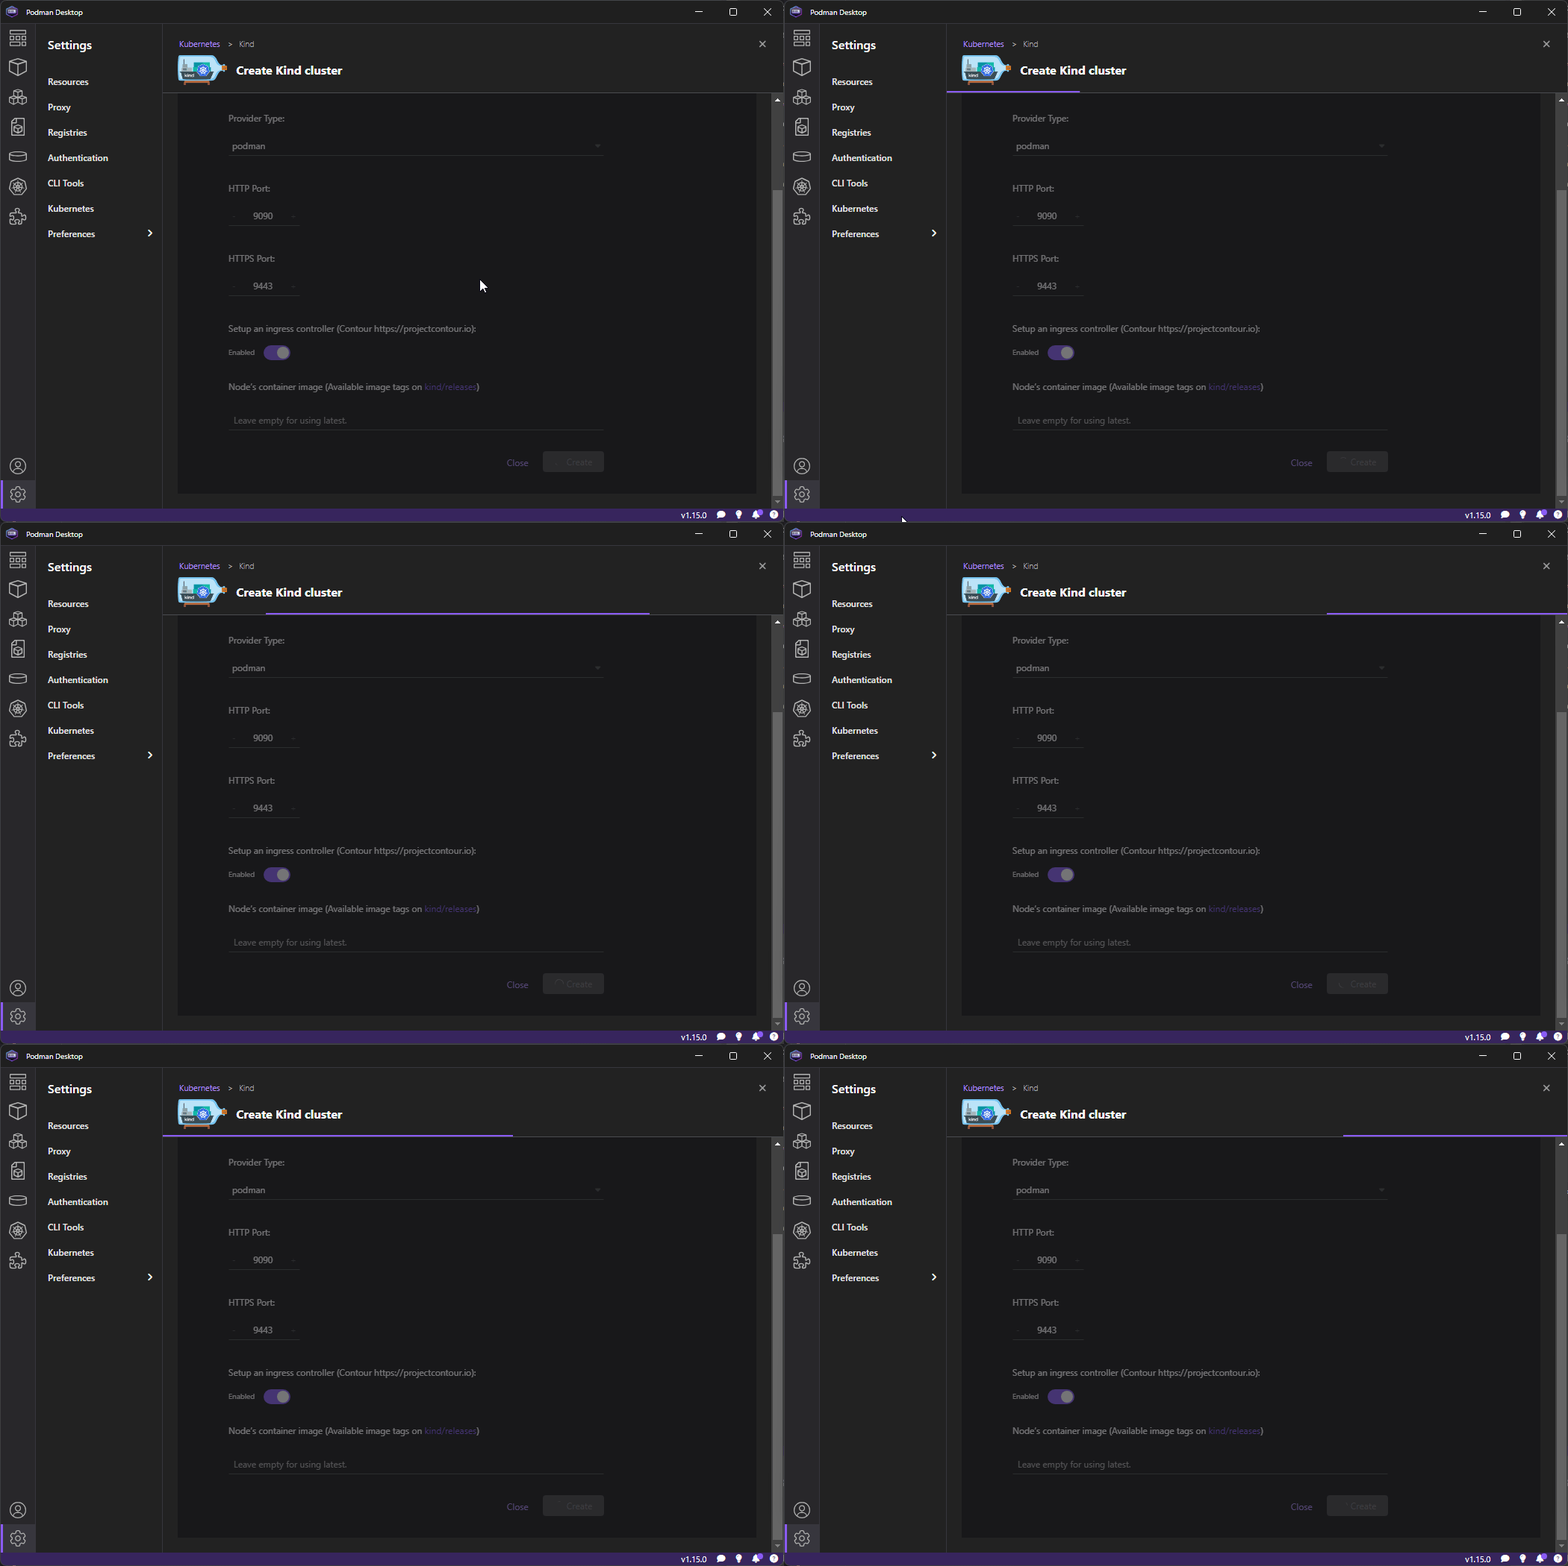
Once created test kubectl can connect to it
kubectl get all --all-namespacesUninstall
Close Podman Dekstop and make sure to quit from Hidden Icons.
Also, to ensure it has stopped, stop Podman and Podman Desktop processes
Get-Process podman | Stop-Process
Get-Process 'Podman Desktop' | Stop Process
Terminate and unregister WSL podman-machine-default
wsl --terminate podman-machine-default
wsl --unregister podman-machine-default
Uninstall podman
scoop uninstall extras/podman-desktop
scoop uninstall main/podman

scoop cache rm --all
scoop cleanup *
Remove configuration folders
rm $HOME/.local/share/containers
rm $HOME/.config/containers
rm $HOME/AppData/Roaming/containers
If installed with scoop remove podman-desktop persist folder
rm $HOME/scoop/persist/podman-desktopAnd maybe uninstall Docker related tools if you had them
scoop uninstall main/docker-compose
scoop uninstall main/docker
Tips & Tricks
Disable tls-verify to speed up pull images
When pulling images you can speed them up a bit by disabling tls verification if it is not needed, just add the following flag
podman pull --tls-verify=false {image}Enable Parallel Image layer
If you prefer podman to pull image layers on parallel it can be configured to do so, this might increase the speed of the images being pulled.
Change the configuration by adding the following on containers.conf
[engine]
image_parallel_copies=6
Enable docker-cli to work with podman-machine
First install docker-cli (not Docker Desktop)
scoop install main/dockerThen ensure the following variable is setup on your shell $PROFILE or Windows Environment Variables
$env:DOCKER_HOST = 'npipe:////./pipe/docker_engine'Troubleshooting
Podman image pull progress not showing
Podman image pull progress does not work from Windows or macOS so you will need to use podman from the wsl to see the progress
TIP
There is an active discussion https://github.com/containers/podman/discussions/16712 that explains the reason about this
wsl -u root -d podman-machine-default

podman pull {image}
The alternative is to use docker-cli with the pipe docker configured, which simply works fine
failed: exit status 0xffffffff
IMPORTANT
Using podman-desktop directly should configure the required optional features for you.
When running podman - if you have tried to start the podman-machine without using podman-desktop you might encounter the following error
podman machine initIf you run into an error like
The operation could not be started because a required feature is not installed.
Error code: Wsl/Service/RegisterDistro/CreateVm/HCS/HCS_E_SERVICE_NOT_AVAILABLE
Error: the WSL import of guest OS failed: command C:\Users\[user]\AppData\Local\Microsoft\WindowsApps\wsl.exe [--import podman-machine-default C:\Users\[user]\.local\share\containers\podman\machine\wsl\wsldist\podman-machine-default C:\Users\[user]\.local\share\containers\podman\machine\wsl\podman-machine-default-amd64 --version 2] failed: exit status 0xffffffff
Turn on optional features on Windows
- Containers
- Virtual Machine Platform
- Windows Subsystem For linux
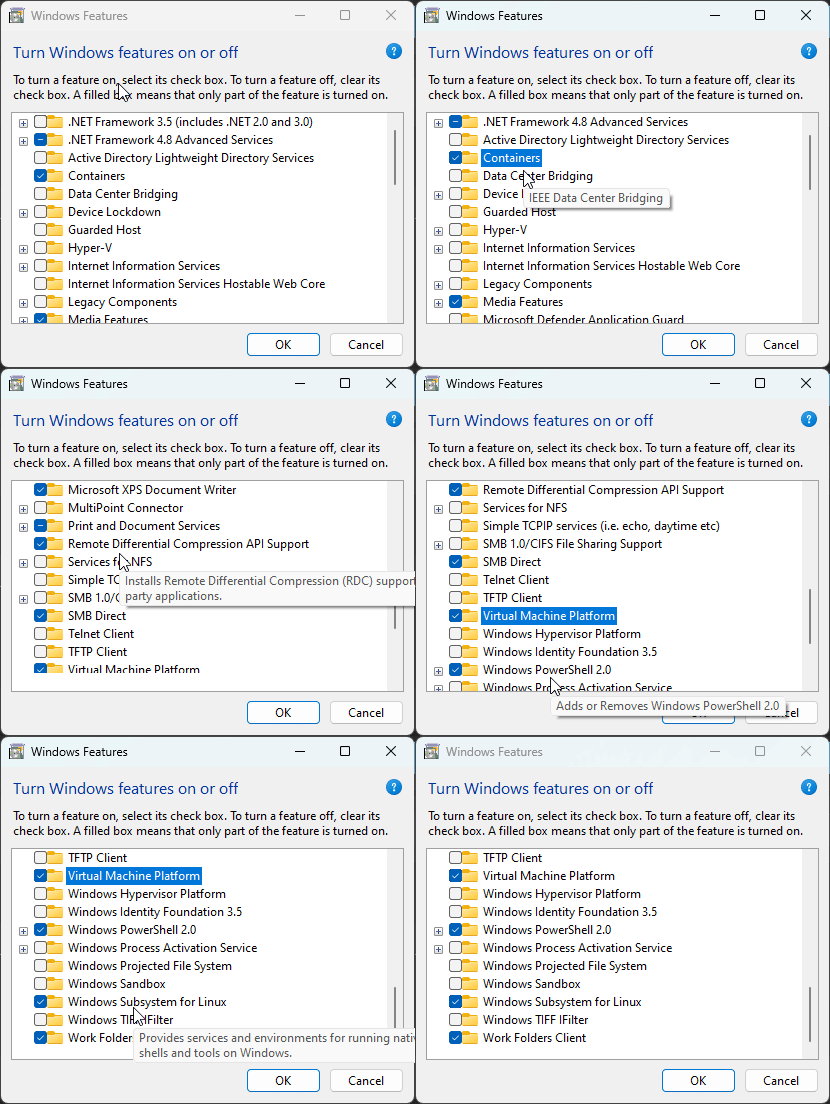
WSL Podman != Windows Podman
If you started podman machine as root in order to have the same machine that windows podman-cli is using you will need to connect to wsl as root
wsl -u root -d podman-machine-defaultThen running podman commands in both should match
podman ps
podman images